Cricut™
A Beginner’s Guide to Cricut Design Space
Cricut Design Space is a powerful software that accompanies your Cricut cutting machine, allowing you to create intricate designs and projects with ease. Whether you’re a seasoned crafter or just starting out, this guide will walk you through the basics of using Cricut Design Space to bring your creative visions to life.
Getting Started
Step 1: Create an Account
If you’re new to Cricut, start by creating an account on the Cricut Design Space website. This account will be your hub for storing and accessing your projects.
Step 2: Explore the Interface
Upon logging in, you’ll find an intuitive workspace. The canvas is where you’ll design your projects, and the Layers panel on the right displays all the elements of your design.
Creating Your First Project
Step 1: New Project
Click “New Project” to begin a new design. Choose your canvas size and orientation based on your project’s requirements.
Step 2: Adding Elements
Explore the toolbar on the left to add images, text, shapes, and more to your canvas. These elements will be the building blocks of your project.
Step 3: Design and Arrange
Drag and drop elements onto your canvas. Resize, rotate, and layer them to achieve the desired look. The gridlines and snap-to-grid feature help you align everything precisely.
Step 4: Customizing Elements
Double-click on any text to edit it. For images, the “Edit” option allows you to make adjustments like changing colors, adding filters, and more.
What is flatten in cricut design space
“Flatten” is a feature in Cricut Design Space that allows you to convert multiple layers of a design into a single layer. This is particularly useful when you want to cut or print intricate multi-layer designs as a single image, rather than cutting or printing each layer separately.
Here’s a more in-depth explanation of what the “Flatten” feature does and how to use it:
When to Use Flatten: Imagine you have a design composed of various elements like text, shapes, and images stacked on top of each other. If you want to cut or print this design as a single, solid image, you would use the “Flatten” feature to merge those individual layers into one.
Steps to Download Cricut Design Space on Windows
Check System Requirements: Before downloading Cricut Design Space, ensure that your computer meets the minimum system requirements. You can find the system requirements on the Cricut official website.
Create or Log into Cricut Account: If you don’t have a Cricut account, you’ll need to create one. If you already have an account, simply log in.
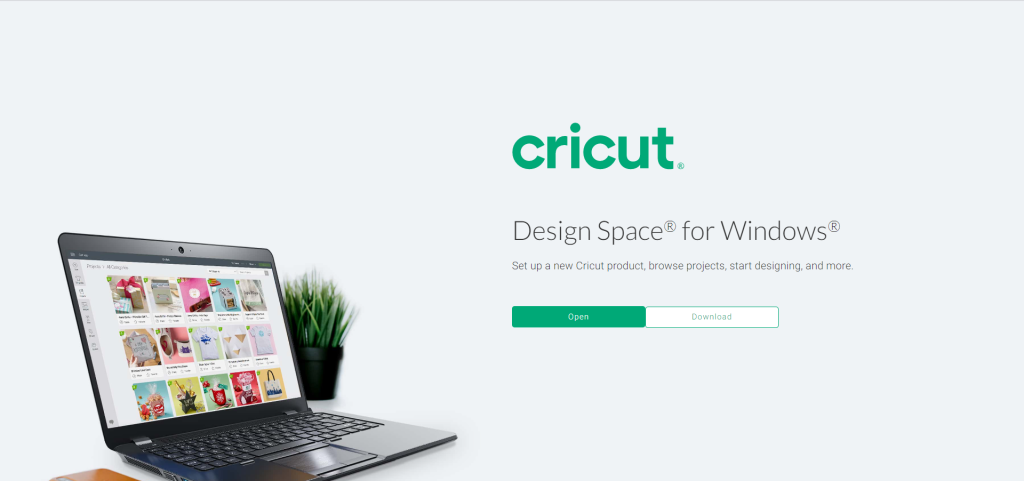
Visit the Cricut Design Space Website: Open your web browser and go to the official Cricut Design Space website: https://onecricut.com
Download Design Space: On the Cricut Design Space website, you’ll find a button or link to download the software. Look for a prominent “Download” or “Get Started” button.
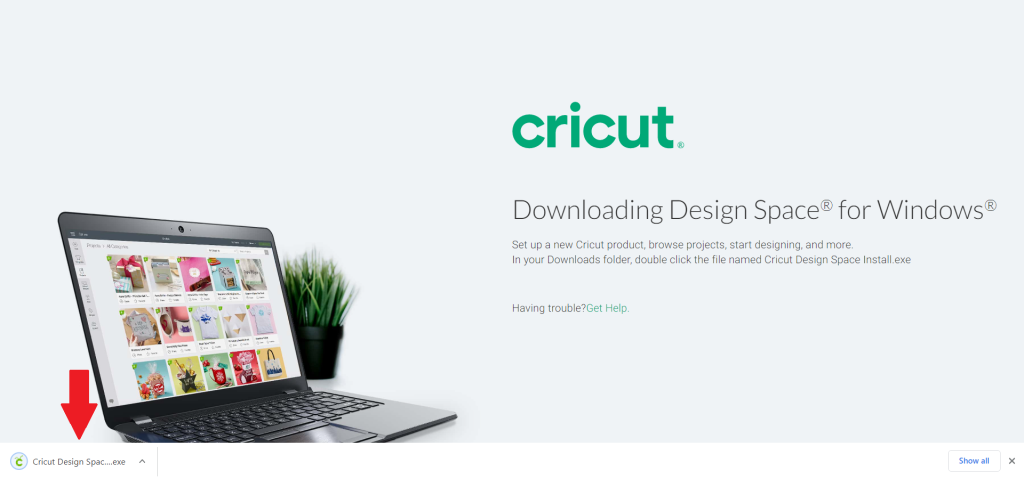
Install the Software: After the download is complete, locate the downloaded file. It’s usually in your computer’s “Downloads” folder. Double-click the file to start the installation process.
Run the Installer: The installer will guide you through the installation process. Follow the on-screen instructions to choose installation options and agree to any terms and conditions.
Launch Cricut Design Space: Once the installation is complete, you can usually find a shortcut to Cricut Design Space on your desktop. Double-click the shortcut to open the software.
Log into Your Cricut Account: When you launch Cricut Design Space, you’ll need to log into your Cricut account using the same credentials you used on the Cricut website.
Connect Cricut Machine (Optional): If you have a Cricut cutting machine, you might need to connect it to your computer via USB or Bluetooth. Follow the on-screen instructions to set up the connection.
Start Creating: You’re now ready to start using Cricut Design Space! Explore the interface, create new projects, and enjoy the versatility of the software for designing and cutting.
